Stop Waste: Oven Dry Parsley to Preserve Freshness for Months
There's nothing quite like the vibrant burst of fresh parsley to elevate a dish. Whether you're a keen gardener with an abundant harvest or a smart shopper who buys in bulk from the farmers' market, you know the struggle: those beautiful bunches of green can quickly wilt and turn sad if not used promptly. It's a common kitchen dilemma that often leads to unnecessary food waste. But what if you could lock in that freshness and flavor for months? The good news is, you absolutely can! Learning how to dry parsley in the oven is a simple, effective, and incredibly rewarding skill that every home cook should master.
Say goodbye to tossing out unused herbs and hello to a pantry stocked with homemade dried parsley, ready to infuse your meals with bright, herbaceous notes whenever inspiration strikes. You don't need expensive equipment like a food dehydrator, just your trusty oven and a few basic kitchen items. This method not only preserves the herb's essential oils and vibrant color better than other quick drying techniques but also ensures you get the most out of every single sprig.
Why Oven Drying Parsley is a Game-Changer
When it comes to preserving herbs, various methods exist, from air drying to microwaving. However, oven drying stands out as a superior choice for several compelling reasons, making it the preferred method for many culinary enthusiasts:
- Speed and Efficiency: Unlike air drying, which can take days or even weeks and is susceptible to humidity, the oven method dries parsley in a matter of hours. This rapid process minimizes the chance of mold development and helps retain more of the herb's essential oils and flavor compounds.
- Consistent Results: The controlled, low heat of an oven ensures even drying, preventing some parts from scorching while others remain damp. This consistency is difficult to achieve with less controlled methods.
- Flavor Preservation: The gentle, low heat precisely designed for oven drying locks in the parsley's distinctive peppery, slightly grassy flavor. This results in a dried herb that truly tastes like parsley, not just a whisper of its former self.
- Cost-Effective and Eco-Friendly: By preserving your own parsley, you reduce food waste and save money you'd otherwise spend on store-bought dried herbs. It's an excellent way to make your kitchen more sustainable and efficient.
- Accessibility: Most kitchens have an oven, making this method accessible to nearly everyone. There's no need to invest in specialized tools, demonstrating why no dehydrator is needed to quickly dry parsley in your oven.
Whether you're dealing with flat-leaf Italian parsley, revered for its robust flavor in Middle Eastern and Mediterranean cuisine, or the frilly, curly variety often used as a garnish, oven drying works beautifully for both. The process is straightforward, ensuring you can enjoy that fresh parsley taste long after harvest season.
Essential Ingredients and Equipment for Oven-Dried Parsley
One of the beauties of learning how to dry parsley in the oven is its simplicity. You won't need an arsenal of specialized gadgets. Here's what you'll gather before you begin:
- Fresh Parsley: This is, of course, the star of the show! Choose bright green, firm bunches without any signs of wilting, yellowing, or browning. Both flat-leaf (Italian) and curly parsley work well. The fresher the parsley, the better the dried results will be in terms of flavor and color retention.
- Baking Tray or Cookie Sheet: A standard baking sheet will suffice. You might even use a larger roasting pan if you're drying a substantial amount.
- Parchment Paper: While optional if your baking sheet is truly non-stick, parchment paper is highly recommended. It prevents the delicate parsley from sticking, makes cleanup a breeze, and allows you to easily transfer the dried herbs to storage containers. Plus, you can often reuse the same sheet for multiple batches.
- Clean Kitchen Towels or Paper Towels: Essential for thoroughly drying the washed parsley. A salad spinner can also be incredibly useful here.
- Airtight Storage Containers: Glass jars with tight-fitting lids (like mason jars) are ideal for storing your finished product, protecting it from moisture and light.
Your Step-by-Step Guide: How to Dry Parsley in the Oven
The process of drying parsley in the oven is remarkably simple, breaking down into a few easy steps. Follow this guide for perfect, crumbly dried parsley every time.
Step 1: Clean and Prepare Your Parsley
Proper preparation is crucial for success. Dirty or damp parsley can lead to an inferior product or even mold.
- Rinse Thoroughly: Hold bunches of parsley under cold running water. Gently swish and shake them to dislodge any dirt, debris, or insects. Inspect each sprig and remove any soft, yellow, or brown leaves and stems. You want only vibrant green foliage.
- Dry Completely: This is arguably the most critical step. Excess moisture will steam the parsley rather than dry it, potentially leading to discoloration or even mold.
- Lay the washed parsley on a clean kitchen towel. Place another towel on top and gently pat and roll to absorb as much water as possible.
- Alternatively, use a salad spinner to efficiently remove water.
- For best results, you can even let the parsley air dry on the counter for 30 minutes to an hour after patting dry, ensuring every last drop of moisture has evaporated.
- To Stem or Not to Stem: You can leave the parsley stems attached at this stage. They are thin enough to dry alongside the leaves and can be easily removed after drying, or even crumbled along with the leaves for added flavor and fiber.
Step 2: Arrange Parsley on the Baking Tray
Even distribution is key to uniform drying.
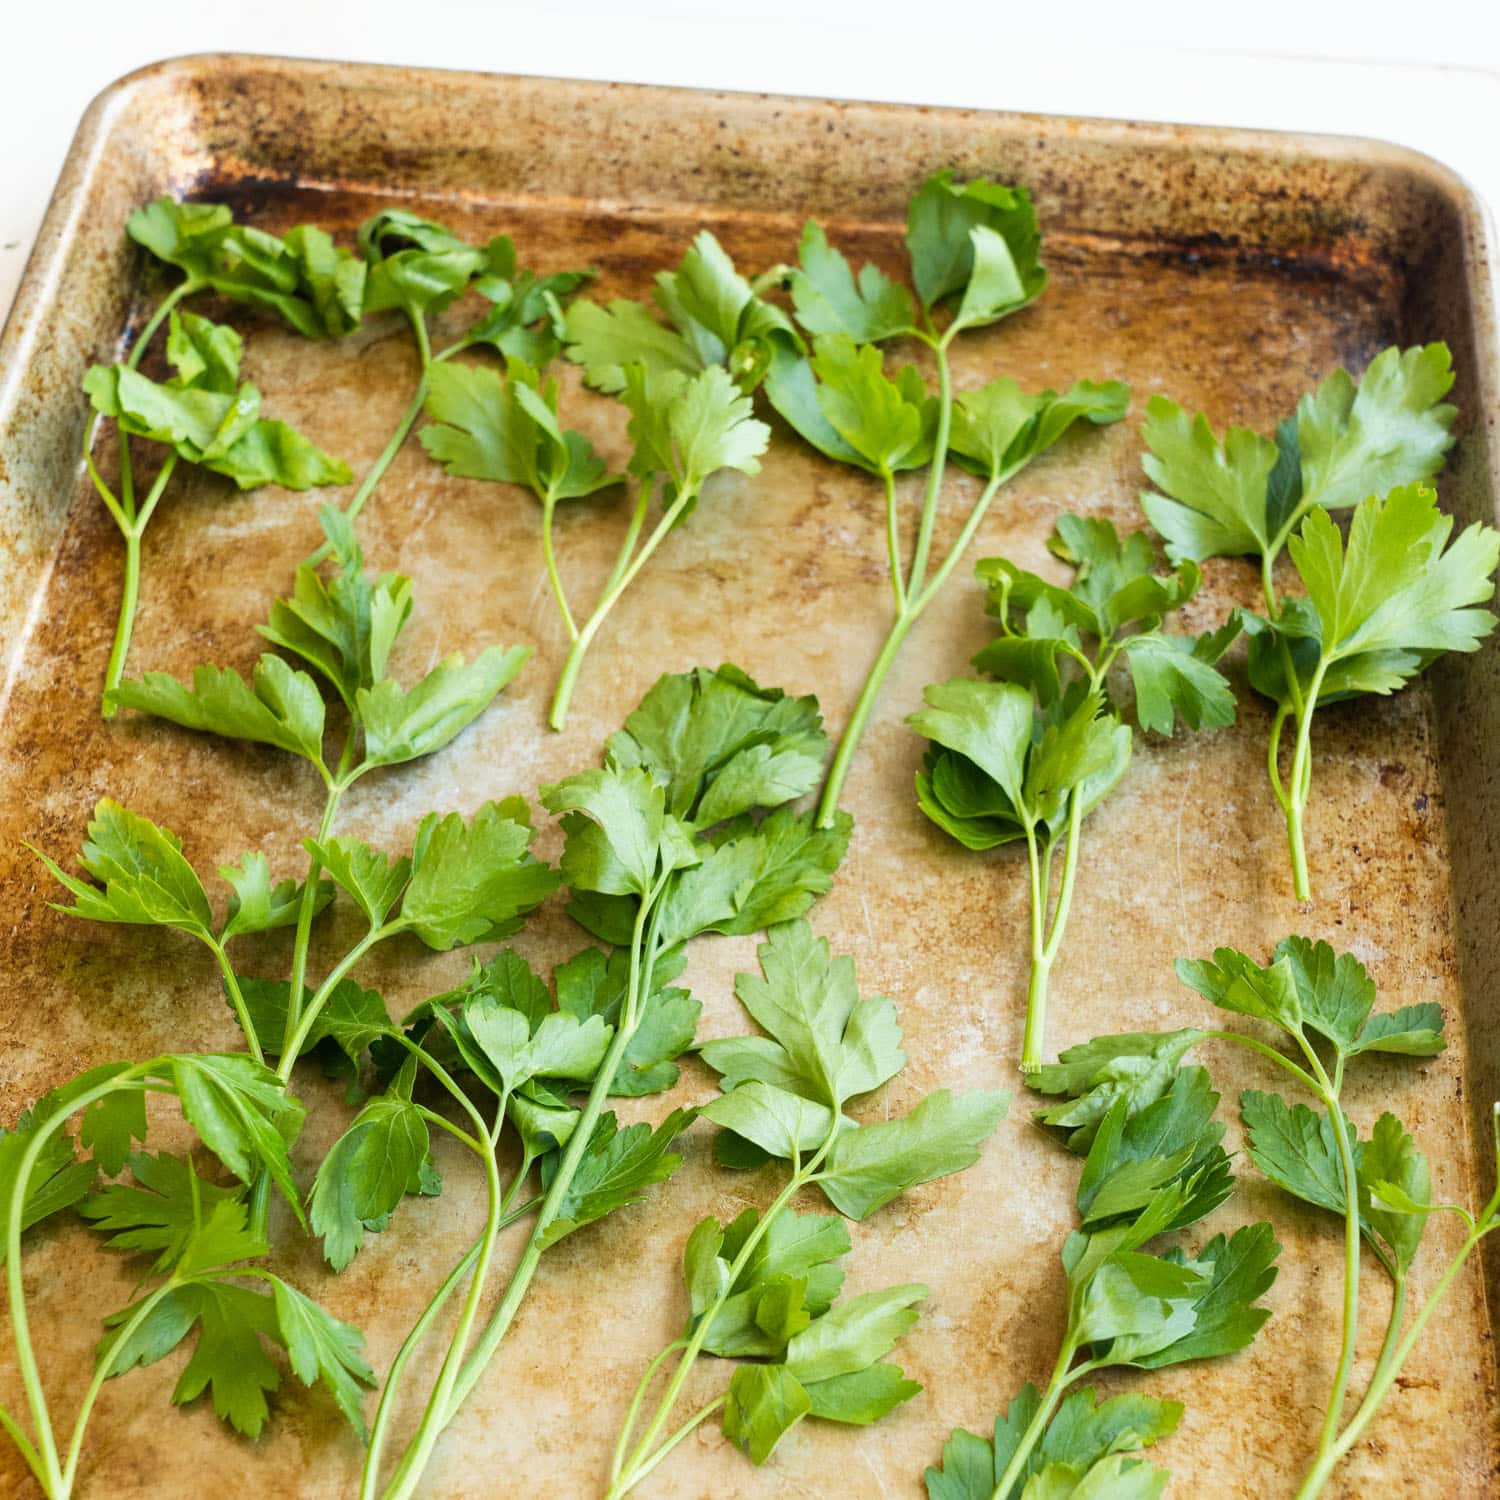
- Line Your Tray: Line your baking tray or cookie sheet with parchment paper. This prevents sticking and makes transfer easier.
- Spread Evenly: Lay the clean, dry parsley sprigs in a single layer on the parchment paper. Ensure there's enough space between sprigs for air to circulate. Avoid overcrowding the tray, as this can lead to uneven drying and potentially steamy conditions. If you have a large amount of parsley, dry it in batches using multiple trays.
Step 3: Bake Until Perfectly Crumbly
This is where your oven does its magic. Precision with temperature and attentive monitoring are vital for success.
- Preheat Your Oven: For optimal results, preheat your oven to its lowest temperature setting. Typically, this is around 170°F (75°C).
- Fan-Assisted Oven: If your oven has a convection or fan setting, use it! The fan helps to circulate the warm air evenly, drying the parsley more efficiently and preventing hot spots that could scorch it.
- Conventional Oven: If you don't have a fan-assisted oven, you can still dry parsley. Simply increase the temperature slightly to around 200°F (95°C) to compensate for the lack of air circulation.
- Initial Baking Time: Place the baking tray in the preheated oven. Start checking the parsley after about 30 minutes. The total drying time can vary significantly depending on your oven, the parsley's moisture content, and how thinly it's spread. It can take anywhere from 45 minutes to 2 hours.
- Monitor Closely: This is not a "set it and forget it" task. Check the parsley every 15-20 minutes. Gently move the sprigs around to ensure even exposure to heat. You're looking for the parsley to become brittle and crumbly to the touch, easily shattering when squeezed. It should retain its vibrant green color, not turn brown or yellow.
- Using Residual Heat: A clever trick is to use residual oven heat! After you've finished baking something else, turn your oven off (or down to its lowest setting). Place the parsley inside and let it dry slowly as the oven cools. Check periodically, as this method takes longer but is very gentle.
Step 4: Cool and Crumble
Once dried, handle your parsley with care to prepare it for storage.
- Cool Completely: Remove the tray from the oven and let the parsley cool down on the parchment paper. It will become even more brittle as it cools.
- Crumble and Store: Once cool, carefully slide the parchment paper with the dried parsley into a large bowl or directly into your storage jar. Using your fingertips, gently crumble the dried parsley leaves into small pieces. You can easily pick out any larger, stubborn stems at this point. For a finer texture, you can rub the crumbled parsley through a mesh strainer.
Storing Your Homemade Dried Parsley
Proper storage is essential to maintain the quality and extend the shelf life of your homemade dried parsley. With good care, your parsley will retain its flavor for up to six months, sometimes even longer.
- Airtight is Key: Store your crumbled dried parsley in an airtight container. Glass jars, like mason jars with tight-fitting lids, are ideal. They provide a good seal and protect the herbs from air and moisture, which are the enemies of dried herbs.
- Dark and Dry: Keep the containers in a cool, dark place away from direct sunlight, heat, and humidity. A pantry or cupboard is perfect. Light and heat can degrade the herb's flavor and color over time.
- Check for Dryness: If your parsley wasn't thoroughly dried before storage, you might notice condensation inside the jar, or the parsley might feel slightly pliable rather than brittle. If this happens, remove it immediately and return it to the oven for a bit longer at the lowest temperature until fully dry. Storing insufficiently dried herbs will lead to mold.
For more detailed insights on this preservation method, you can also explore this simple guide for fresh herbs.
Creative Uses for Your Oven-Dried Parsley
Having a supply of dried parsley on hand opens up a world of culinary possibilities:
- Seasoning Blends: Add it to homemade Italian seasoning, Herbes de Provence, or your own custom spice rubs for meats, poultry, or vegetables.
- Soups and Stews: Stir a generous amount into broths, bean soups, chili, or hearty stews during the last 10-15 minutes of cooking to revive its flavor.
- Sauces and Dressings: Sprinkle into tomato sauces, vinaigrettes, or creamy pasta sauces.
- Bread and Baked Goods: Mix into focaccia dough, savory muffins, or sprinkle over garlic bread before baking.
- Garnish: While not as vibrant as fresh, dried parsley still adds a lovely green fleck and subtle flavor to finished dishes.
Conclusion
Wasting fresh herbs can be a frustrating experience, but with the simple technique of oven drying, it becomes a thing of the past. By following these easy steps, you can confidently preserve the peak freshness and flavor of parsley for months, ensuring you always have this versatile herb at your fingertips. From reducing food waste to enhancing your home cooking with vibrant, homemade ingredients, learning how to dry parsley in the oven is a practical skill that delivers delicious rewards. So go ahead, grab that extra bunch of parsley, fire up your oven, and enjoy the satisfaction of a well-stocked, sustainable kitchen.
